Reminder! List of Hotkeys and shortcuts: http://www.nobledesktop.com/shortcuts/illustratorcs6/mac/
Below is an outline of what we have covered so far in Illustrator, with pictures to show you where it's found on screen. I've included notes and images below for you, in case you have any trouble finding references for your assignment.
1) Use of the interface
A) Creating Files (File ---> Open )

B) Saving Files (File --- > Save As or Save)
C) Naming Files (Example: shaw_wk1_selfportrait)
D) Opening Files
E) Learning about toolbars and tabs
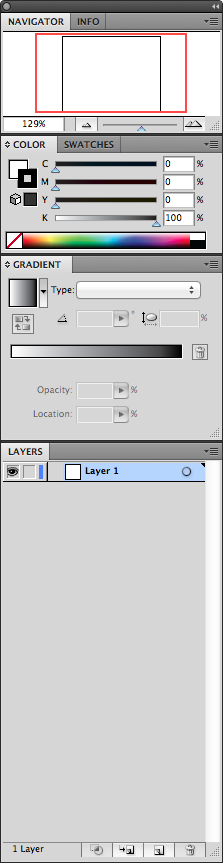

- Remember you can find all of these by going to WINDOW at the top of the screen, and selecting the tab you need.
- We created this stack of toolbars by clicking their icons to the very right of the screen, and dragging them outward to make them their own block. In the future, you can create your own workspaces like this!
i) color tab
ii) swatches
iii) gradients
iv) layers
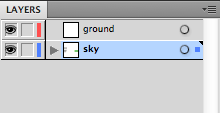
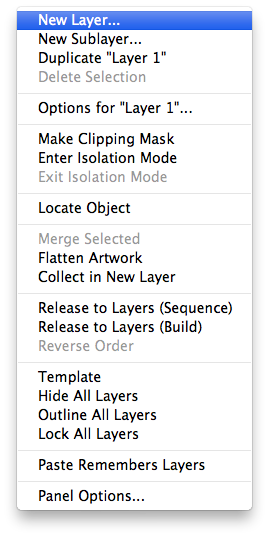
To make new layers: Click the menu button (looks like an upside down triangle with 4 lines next to it) and select NEW LAYER.
To make new layers: Click the menu button (looks like an upside down triangle with 4 lines next to it) and select NEW LAYER.
v) navigator
vi) saving your workspace: Go to WINDOW -----> Workspace ----> Save Workspace
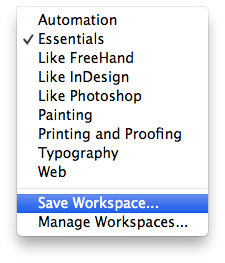
- NOTE: You will always be able to go back and reselect your default workspace. It will be in the same "Workspace" Window, arranged in alphabetical order with the rest of the menu options.
--------------------------------------------------------------------
2) Knowledge of tools (Hotkey in parenthesis)

A) Selection tool: (V)
B) Direct Selection tool: (A)
C) Rectangle tool: (M)
D) Switch between colors: (X)
E) Zoom in: (command +)
F) Zoom out: (command -)
G) Copy and Paste (same as microsoft word: command + C and command + V)
F) Grouping Objects Together:
Select all of your objects, then
F) Grouping Objects Together:
Select all of your objects, then
--------------------------------------------------------------------
3)Making art in a rudimentary fashion
A) Anchor Points (visible on any object made in illustrator)
B) Making rectangles (use the rectangle tool)
C) Coloring objects (use the color tab)


- Remember that clicking "None" (marked with a white box and a red diagonal line through it) will remove all color from your stroke, or fill.
- Double Clicking the stroke or fill box (shown on the very left) in the COLOR TAB will bring up the COLOR PICKER.
- Use the color picker to select from a much higher variety of colors, hues, values, shades, etc.
D) Stroke and Fill (can adjust at the top of the menu)
E) Placing photos into illustrator (Goto File -----> Place, or click your image, hold down the mouse button, and drag into illustrator)
F) Pattern and color
In case you have any questions that are not mentioned here, my email address is mshaw@mca.edu. Email me if you have any additional questions!
No comments:
Post a Comment